How to Connect a Shelly Device to Smart Kilowatts through Shelly Cloud
A guide for connecting a Shelly device to Smart Kilowatts using Shelly Cloud: Server URI, Auth key, device import, and security notes.
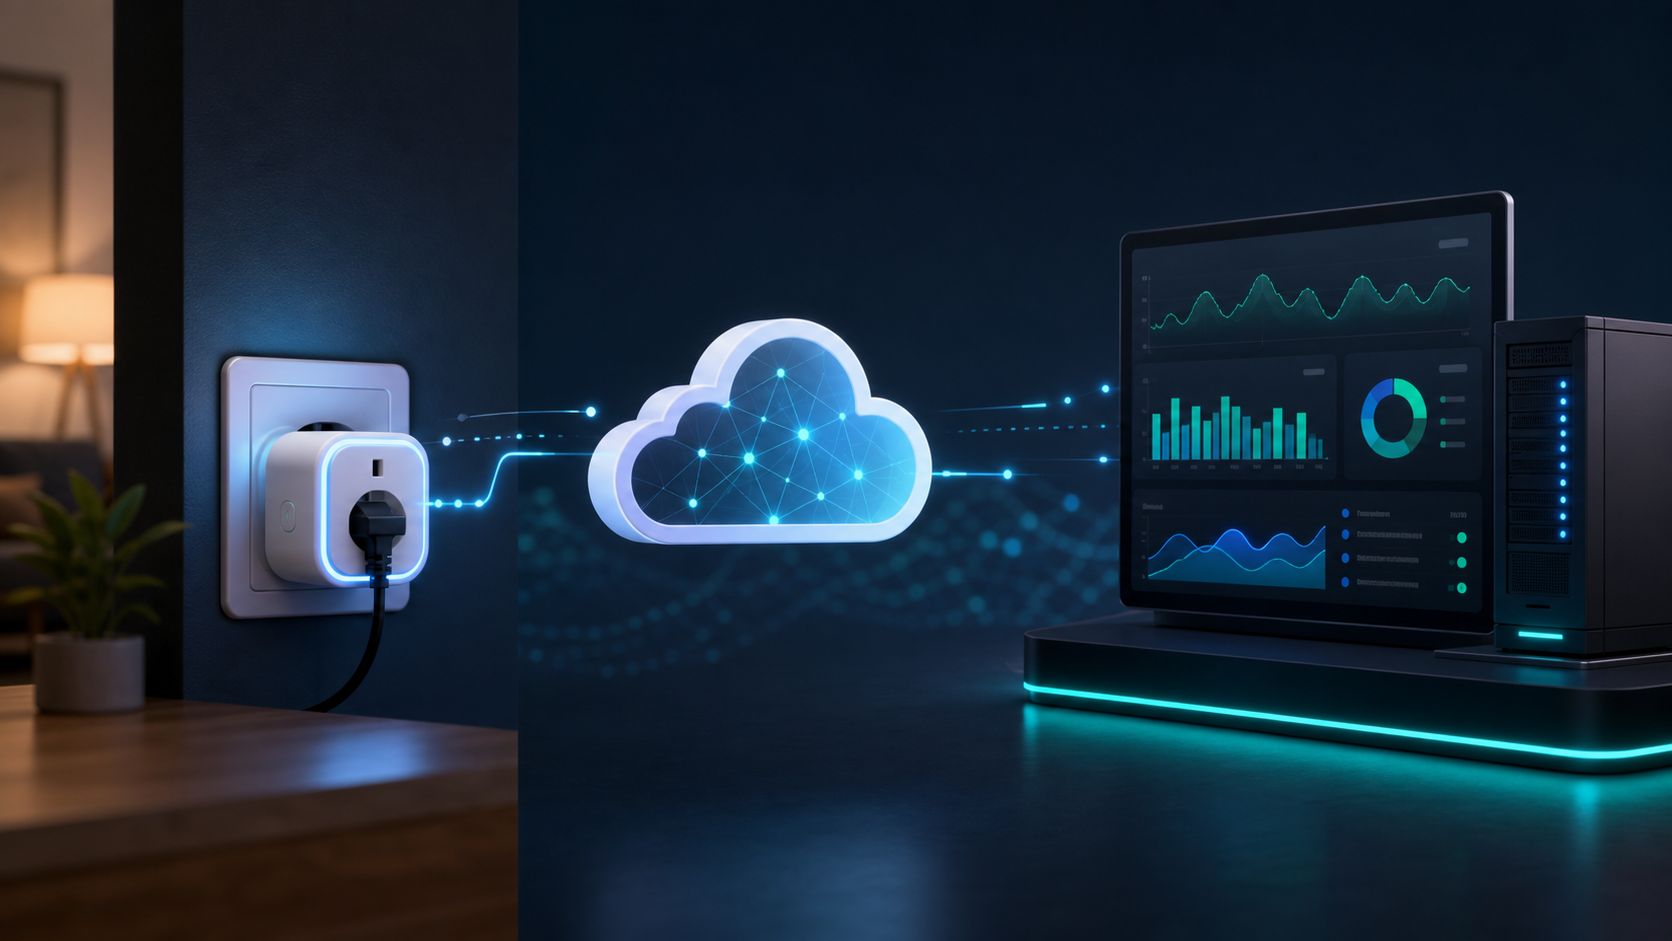
If your Shelly device already works through Shelly Cloud, you can connect it to Smart Kilowatts without a controller and without scanning your home network. Smart Kilowatts uses Shelly Cloud access to see the device, read its status, and send control commands according to the schedule you create.
This method is convenient when the device is on another network, when you do not want to use the Smart Kilowatts controller, or when you want to quickly test cloud-based control. The Shelly Cloud account is added to your Smart Kilowatts account as a whole, and individual devices are later assigned to a site and an active agreement.
Before you start
- You have a Shelly Cloud account where the device is shown as connected.
- You have a Smart Kilowatts account.
- The device must be one that Smart Kilowatts can control through Shelly Cloud, for example a Shelly Plug, Shelly relay, or another supported Shelly device.
- If you want to actually control the device, it will need an active site and an available device slot in Smart Kilowatts according to your plan or agreement.
1. Open Authorization cloud key in your Shelly Cloud account
Sign in to Shelly Cloud. In the left menu, open Settings, select User Settings at the top, and in Access And Permissions, expand Authorization cloud key. If you do not see the key yet, click Get key.

2. Copy Server URI and Auth key
After the key is generated, Shelly Cloud shows two important fields: Server URI and Auth key. You will need to enter both in Smart Kilowatts. Auth key is a secret key, so do not share it publicly or keep it in images without masking it.
If you ever think the key may have been exposed, generate a new key in your Shelly Cloud account and update it in Smart Kilowatts.

3. Add the Shelly Cloud account in Smart Kilowatts
In Smart Kilowatts, open Dashboard → Devices. In the Shelly Cloud section, add a new account:
- Account label – enter a clear name for yourself, for example "Home Shelly Cloud".
- Server URI – paste the server address shown by Shelly Cloud.
- Auth key – paste the Shelly Cloud authorization key.
After you save the account, Smart Kilowatts will check access and can show the devices found through this Shelly Cloud account. The cloud account itself is not tied to a specific site. Only individual devices are assigned to a site.
4. Select the device and assign it for control
Once the Shelly Cloud account is saved, return to the devices page. There you will see the devices found through Shelly Cloud. Select the needed device and assign it to a site or active agreement in the same way as devices found through the Smart Kilowatts controller.
In the Shelly Cloud window, you can check the device information, but Smart Kilowatts usually only needs the device to be found through your Shelly Cloud account. In this illustration, device names and ID values have been changed or hidden.

What should I do if the device is not shown?
- Check whether the Shelly device is connected on the Shelly Cloud page.
- Make sure you entered the correct Server URI and the full Auth key in Smart Kilowatts.
- If you recently changed the key, update it in Smart Kilowatts and try reading the devices again.
- Check whether your Smart Kilowatts plan or agreement still has available device slots.
- If the device is visible but control does not work, check the Shelly Cloud status and the device's own internet connection.
Security notes
Shelly Cloud Auth key gives access to your Shelly Cloud account API, so treat it like a password. On the Smart Kilowatts side, enter the key only through your account's devices page. Do not send it by email, in chats, or in images.
Also consider what the connected Shelly device controls. Automated switching on and off is not suitable for critical, medical, safety, or other equipment where an unexpected shutdown could cause harm. Before enabling automatic schedules, always make sure the appliance is safe to control remotely.
Quick summary
- In Shelly Cloud, open Settings → User Settings.
- Expand Authorization cloud key and generate a key.
- Copy Server URI and Auth key.
- Add the Shelly Cloud account on the Smart Kilowatts devices page.
- From the discovered devices, select the needed Shelly device and assign it to a site.
Related setups
-
Open the Smart Kilowatts devices page
This is where you add the Shelly Cloud account and assign discovered devices.
-
Open Shelly Cloud
Use your Shelly account where your devices are already visible.